Winterizing a Rooftop Hive
Disclosure: UrbanBee is reader-supported. When you buy through links on our site, we may earn an affiliate commission at no extra cost to you. Learn more.
Disclosure: UrbanBee is reader-supported. When you buy through links on our site, we may earn an affiliate commission at no extra cost to you. Learn more.
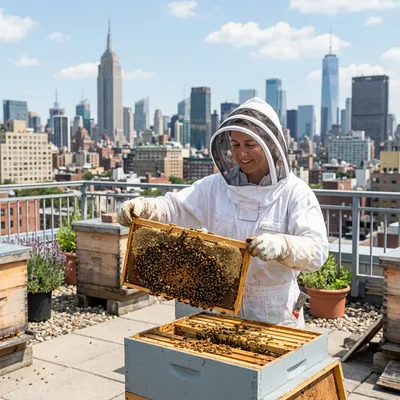
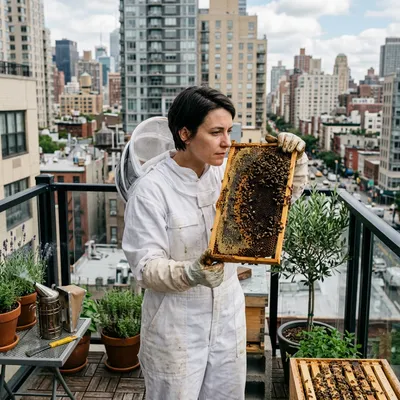
Rooftop beehives face intense cold winds and fluctuating temperatures during winter. Use this checklist to protect your colony from cold, wind, and moisture. Each section below breaks down key steps for beginner to intermediate beekeepers to winterize a hive on a roof in the U.S. (and similar climates). Stay mindful of regional climate differences and always prioritize hive ventilation alongside insulation. (If you are just getting started, read our Ultimate Guide to Urban Beekeeping first).
Insulation ✅
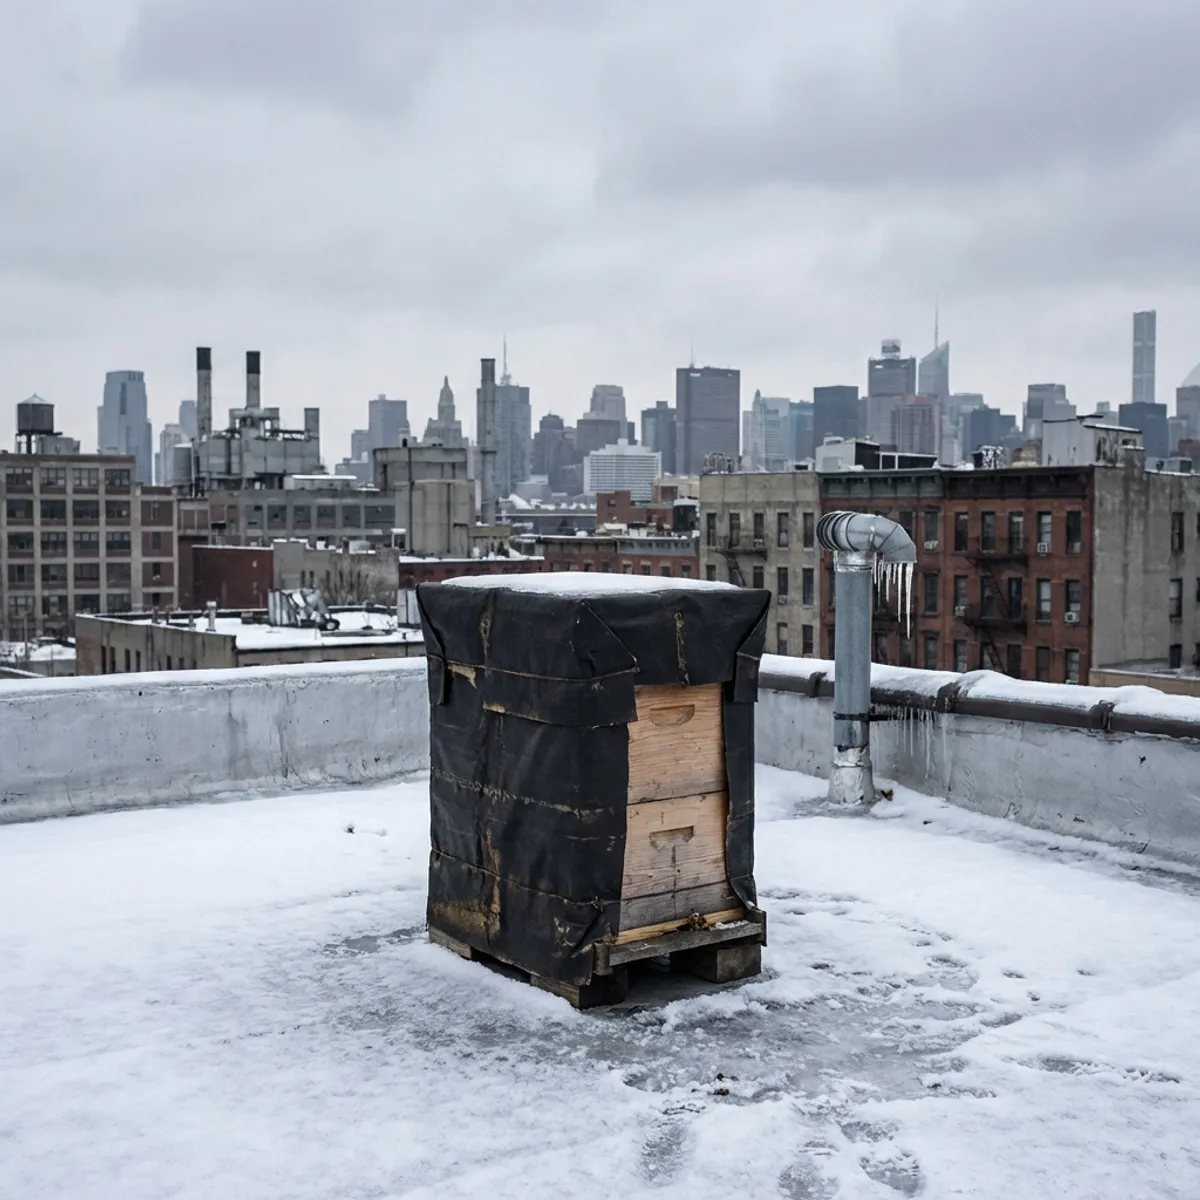
- Wrap the Hive with Tar Paper or Insulated Wrap: Consider a black roofing felt (tar paper) wrap or a commercial insulated hive wrap to shield the hive from wind and capture sunlight. Pros: Tar paper is cheap, easy to apply, and its dark color can slightly warm the hive on sunny days. Cons: Tar paper adds very little actual heat insulation and can trap moisture if the hive lacks ventilation. To apply, cut the tar paper or wrap to fit around your brood boxes, then staple or tape it snugly in place. Rooftop tip: High winds can tear loose wrapping, so secure it tightly and overlap corners to prevent flapping. Leave entrances uncovered for bee access and airflow.

-
Install Rigid Foam Board Insulation: For colder regions or prolonged winters, attach foam boards (e.g. polyisocyanurate or Styrofoam panels) around the hive for superior insulation. These panels significantly reduce heat loss, meaning the bees consume less honey to stay warm. Pros: Excellent R-value (insulation effectiveness), lightweight, and reusable each year. Cons: Foam must be cut to fit each hive side and must be paired with ventilation to avoid trapping moisture inside. It can also attract chewing by rodents if gaps are left, so tape or seal edges. How to apply: Cut foam boards to the size of each hive wall and the top cover. Strap them around the hive using a ratchet strap or bungee, or secure with weatherproof tape. Ensure the foam covers the upper sides but does not block the entrance or any upper vent. In frigid northern climates, this foam method provides vital protection, whereas in milder winters a simple wrap may suffice.
-
Insulate Above the Hive (Top Cover): A large portion of heat escapes upward, so add insulation on top. Place an insulating board or pad over the inner cover (or use an insulated inner cover) to keep heat from radiating out the roof. You can lay a piece of foam board inside the telescoping cover or use a moisture quilt box (see Ventilation section) which doubles as top insulation. Rooftop tip: Make sure any top insulation is secured against gusts. For example, if using foam on the lid, trap it under the outer cover or strap it down so it won’t blow off.
-
Secure the Hive Against Strong Winds: Rooftop apiaries are very exposed, so preventing wind damage is critical. Strap the hive components together using a ratchet strap or nylon hive strap that goes around the entire stack (including the lid and any wraps). This keeps the lid from blowing off and the boxes from separating during storms. Additionally, place a heavy brick or stone on top of the outer cover as extra weight. Check that all insulation material is fastened tightly—use duct tape on tar paper seams and ensure foam panels can’t slip. If possible, position the hive behind a rooftop structure or parapet wall to break the wind, or set up a temporary windbreak (such as a section of snow fencing) a few feet away to reduce direct gusts. Just be sure any windbreak is also well-secured. The goal is to reduce cold wind exposure without creating hazards.
Ventilation 🔄
-
Balance Insulation with Ventilation: Even as you insulate, remember your bees need air circulation. Condensation buildup from the bees’ respiration can chill and kill a colony faster than cold air. Aim for a balance: enough ventilation to let moist air out, but not so much that frigid drafts blow through. A common guideline is to allow air to enter low and exit high. This lets humidity escape while the cluster stays in calm, warm air.
-
Provide an Upper Vent for Moist Air: Create a small upper entrance or vent hole at the top of the hive for ventilation. For example, use an inner cover with a notch, drill a 5/8-inch (1.5 cm) hole in the upper hive body, or install a shim that has a built-in entrance. This upper vent allows warm, moisture-laden air to rise out of the hive instead of condensing on the inner lid. Avoid large openings that could cause a draft; a 1–2 inch notch or a few small holes are plenty. Rooftop tip: Face any upper entrance away from prevailing winds or cover it with an awning-like piece of wood so gusts don’t blow directly in. You want air exchange, not a wind tunnel. Verify that your wrap or foam insulation doesn’t cover this vent.
-
Use a Moisture Quilt or Ventilation Box: Consider placing a moisture quilt box (also called a ventilation box) on top of the hive, just under the outer cover. This is a shallow box (2–4 inches deep) filled with an absorbent material like wood shavings, sawdust, or straw. The bottom of the quilt box is usually made of mesh or has holes, and you leave a gap or small vents to the outside. The quilt allows moist air to rise into the material and be absorbed, then slowly vents it out, without dripping back on the bees. Assemble it by stapling a breathable fabric or screen on the bottom of an extra hive box, filling it loosely with dry wood shavings, and placing it over the inner cover. The quilt also adds a bit of insulation against cold.
-
Ensure Adequate Lower Ventilation (Without Drafts): Your hive still needs a source of fresh air intake. Going into winter, use an entrance reducer on the bottom entrance, typically the small notch (~3–4 inch wide opening) is best. This small opening allows some air in and lets bees come out for cleansing flights, but is narrow enough to prevent strong winds and keep out mice. If you use a screened bottom board, insert the removable bottom tray or board during winter. This closes off direct cold wind from below while still allowing a bit of airflow through the screen.
-
Tilt the Hive Forward Slightly: When setting up your hive for winter, ensure it’s tilted just a few degrees forward (front entrance lower than the back). This way, any rain or condensation that does accumulate inside will drain toward the front and out the entrance, rather than pooling or dripping on your bees.
Mouse Guards 🐭
-
Install Mouse Guards Before Cold Weather: As temperatures drop, mice seek warm shelters and a bee hive full of honey is very inviting. Action: Reduce the main entrance height and cover it with a mouse guard by early fall (when nights start dropping below ~50°F/10°C). A typical mouse guard is a metal or plastic grid that covers the entrance. You can also make one by folding 1/4-inch hardware cloth and stapling or tacking it over the entrance. Openings around 6–9 mm (1/4”–3/8”) are small enough to block mice but still allow bees to pass through freely.
-
Inspect and Prepare the Entrance: Before attaching the mouse guard, clear the entrance of any debris. Brush out dead bees, wax bits, or propolis buildup along the bottom ledge. This ensures nothing pushes the guard out of alignment and your entrance won’t get unintentionally blocked.
-
Allow Bees to Come and Go: A good mouse guard keeps mice out but still lets your bees fly on those occasional warm winter days. Verify that the openings in your guard are large enough for your worker bees to squeeze through (approximately 3/8” or 8 mm is enough for workers). Watch for a moment on a mild afternoon – bees should be able to exit and re-enter freely through the mesh or holes.
-
Maintain the Guard and Entrance: Throughout winter, periodically check the entrance area. Action: Remove any dead bees that accumulate behind the mouse guard so they don’t block the remaining space. A stick or hooked wire can help pull debris out without fully opening the hive. Also ensure the guard stays firmly in place.
Food Stores 🍯
-
Heft the Hive to Gauge Stores: Going into winter, and periodically during winter, heft your hive to assess its food reserves. This simply means carefully lifting one side of the hive a few inches to feel how heavy it is. A full-size colony needs approximately 40+ lbs in warm southern areas, 60 lbs in mid-range climates, and 80–90 lbs in cold northern regions. If the hive was very heavy in October but feels much lighter by January, they have eaten a lot.
-
Add Emergency Feed if Honey is Low: If your hive is light when hefted or you suspect they’re low on honey, be ready to provide emergency food. Use solid sugars: fondant, sugar bricks, or granulated sugar (“mountain camp” method). Place it directly above the cluster. Do not block your upper ventilation when adding feed.
-
Plan Ahead for Winter Feeding: Ideally, you started winter with sufficient honey stores so the colony doesn’t need much intervention. Feeding thick syrup (2:1 sugar water) in early fall helps hives pack away extra stores. After that, use emergency sugar feeding as needed.
-
Avoid Excess Disturbance: When checking food stores or adding feed in winter, pick the warmest part of the day and do it quickly. Do not remove frames or break the cluster.