Beekeeping for Beginners: Your First Year
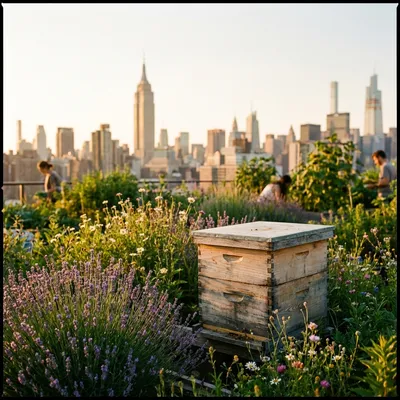
Urban beekeeping in American cities is absolutely doable—even in small backyards, rooftops, and many balcony-friendly situations—if you plan ahead, stay consistent, and keep your colony healthy with organic-first methods (good genetics, good nutrition, good hive conditions, and integrated pest management). This guide is written as a chronological checklist, so you always know what “this month’s job” is.
Big-picture goal: By the end of Month 12, you want a colony that is queen-right, well-fed, low-mite, dry/ventilated, and protected from wind/rodents—so it can survive winter and explode in spring.
Winter (Months 1–3): Ordering Bees, Getting Gear, Setting the Site
Month 1 — Decide your plan + order the essentials
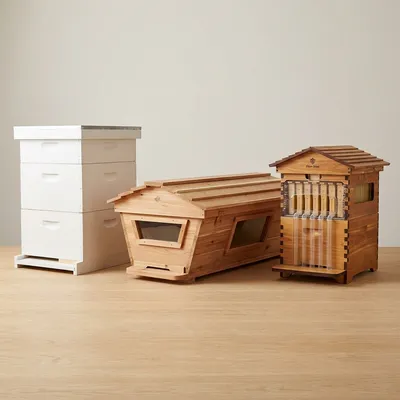
- Pick your hive style (beginner-friendly default): Standard Langstroth (8-frame or 10-frame). Urban beekeepers often like 8-frame for lighter boxes.
- Choose your bees (city-friendly temperament matters):
- Look for gentle stock (commonly Italian or Carniolan lines) and, if possible, locally adapted bees.
- If you can find “survivor” / mite-aware stock through local associations, even better (ask what their mite strategy is).
- Order bees early (seriously):
- Reserve a nuc (easiest start) or package for spring pickup/delivery. Many sellers sell out well before spring. ([dadant.com][1])
- Order core gear (skip the junk, buy once):
- Ventilated jacket or suit + veil (comfort keeps you calm)
- Hive tool, smoker, lighter, fuel
- Feeder (internal/top feeder is easier to manage and less robbing-prone)
- Frame grip (optional but nice), bee brush (use gently—your breath or a soft shake often works)
- Start learning:
- Read/watch “basic inspections,” “installing a package/nuc,” and “recognizing brood.”
Urban-specific note: Start neighbor-proofing now. Even if you’re not doing “legal/regulations” deep-dives, you still want a “good neighbor plan”: water source, flight path management, and calm bees.
Month 2 — Build/paint equipment + design your “urban-proof” hive placement
- Assemble hive bodies/frames now (not the night before bees arrive).
- Paint only the exterior (light colors help with roof heat).
- Pick your exact hive location and design for:
- Flight path up and away from people (use a fence, trellis, bamboo screen, or tall plants in front of the entrance).
- Wind protection (especially rooftops): strap the hive and/or add a windbreak.
- Sun & shade: morning sun is great; brutal afternoon roof heat is not. Provide shade cloth or positioning to avoid heat stress.
- Install a water station (do this before bees arrive):
- Shallow dish + rocks/corks so bees can land safely.
- Keep it filled consistently so they “imprint” on it and don’t choose a neighbor’s pool. ([betterbee.com][2])
- Plan your forage support (organic mindset):
- Even a few pots help: lavender, thyme, oregano, borage, sunflowers, native flowers.
- Aim for succession blooms (something blooming spring → fall). ([Cornell Cooperative Extension][3])
Month 3 — Practice your workflow + prep feed + create a simple record system
- Do a dry-run inspection (open/close your empty hive, light your smoker, handle frames).
- Prep feeding supplies:
- Spring feed is typically 1:1 sugar syrup (by weight) for comb building and early growth.
- Fall feed is typically 2:1 to build winter stores.
- Create a one-page inspection log (notes matter more than you think):
- Date, weather, temperament, brood pattern, stores, space, queen seen? mites tested? actions taken.
Spring (Months 4–6): Install, Feed, Build Comb, Establish Routine
Month 4 — Install bees + feed + confirm the queen is laying
Your priority this month: get them established without stressing them.
- Install your nuc/package on a calm day.
- Feed immediately (organic-friendly support):
- New colonies often need syrup until they’ve built comb and local nectar is flowing.
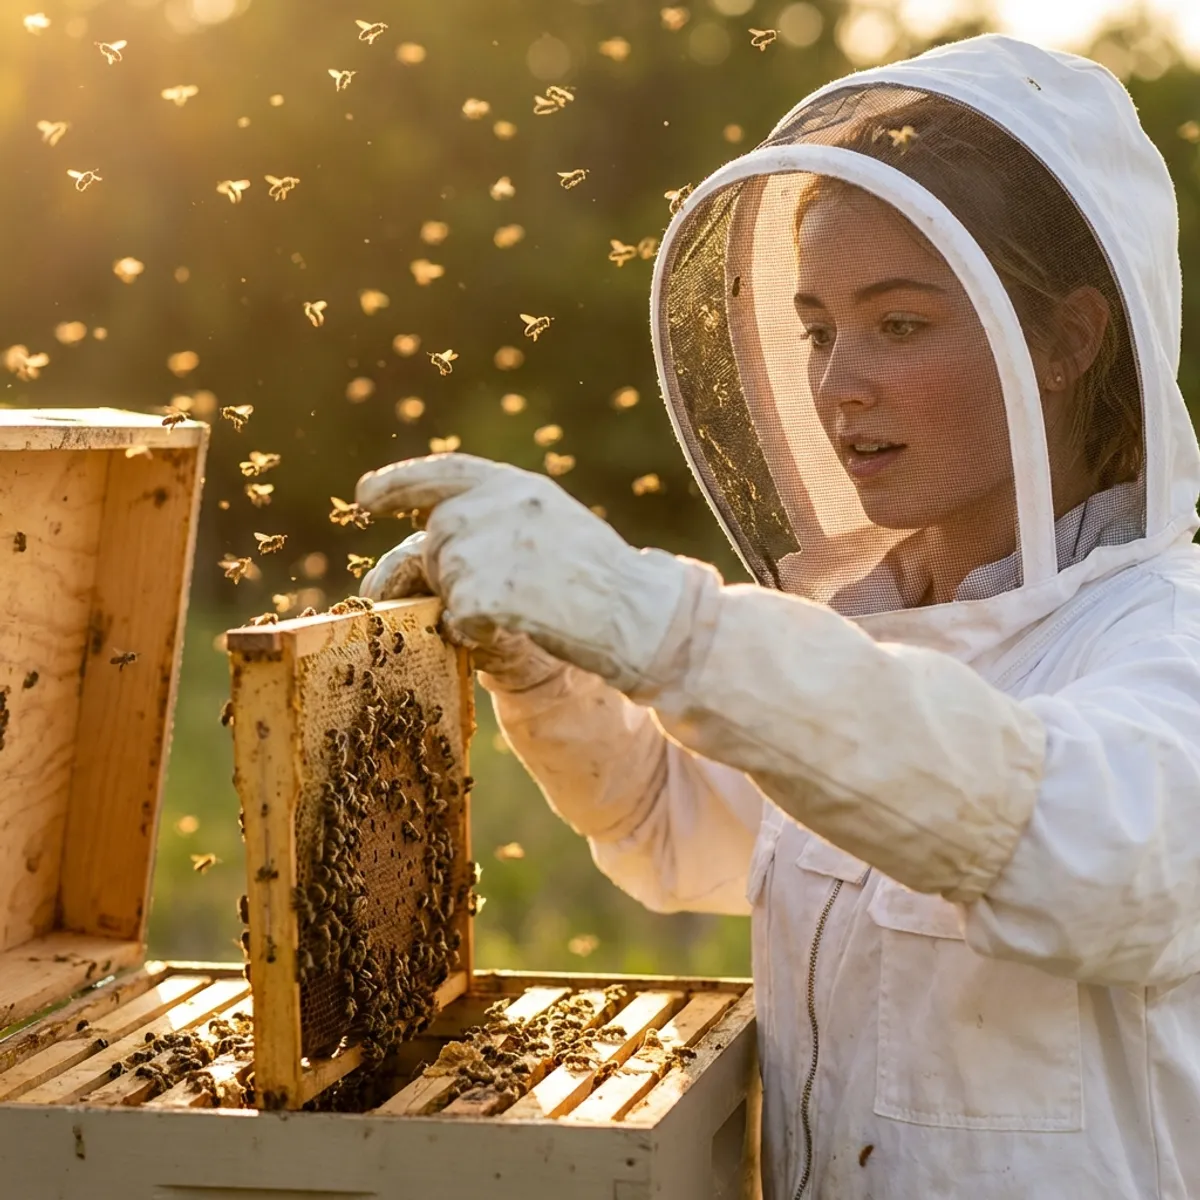
- Inspection rhythm: every 7–10 days, short and purposeful.
- What you’re looking for:
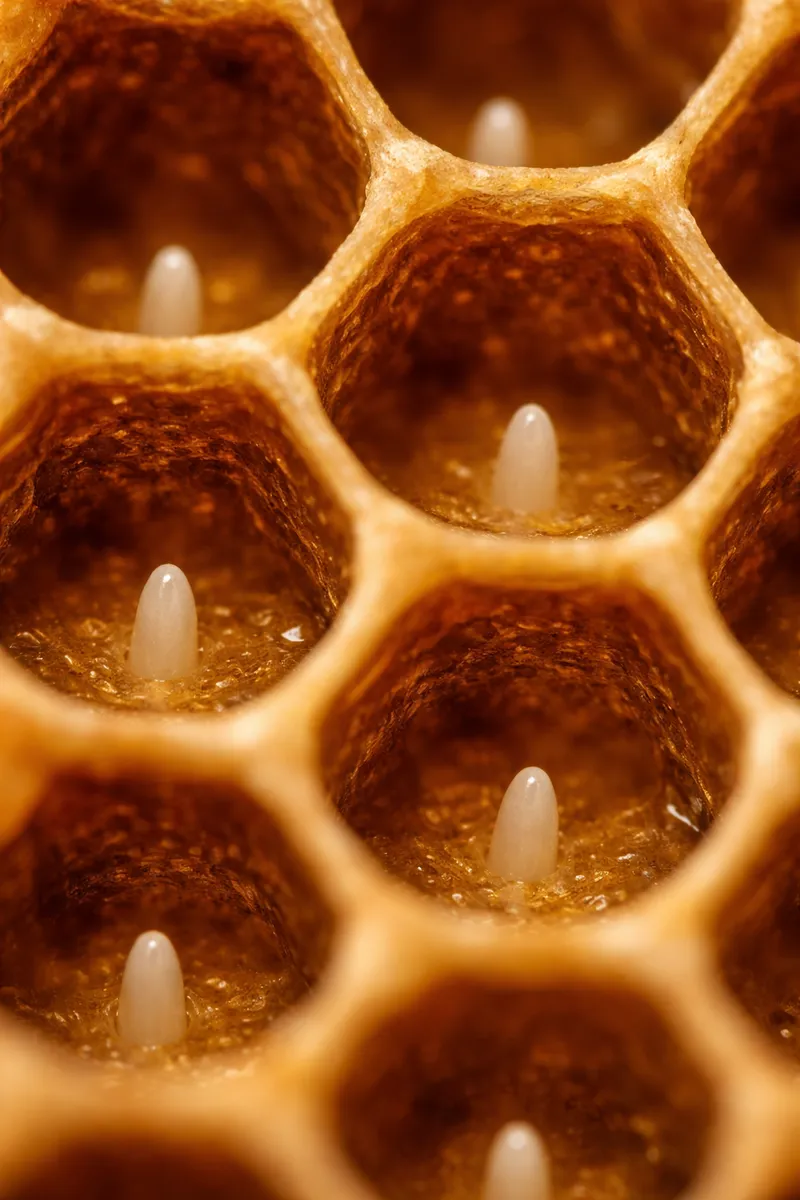
- Eggs/larvae (queen-right)
Macro photo of honey bee eggs in cells - Fresh comb being drawn
- Pollen coming in (great sign)
- Eggs/larvae (queen-right)
- Urban tip: Keep the entrance reduced if your location is busy or if robbing pressure is possible.
Month 5 — Expand space + prevent “early congestion”
- Add space when ~70% of frames are drawn/covered with bees.
- Crowding triggers swarm prep; space helps prevent it.
- Keep feeding if nectar is inconsistent.
- Start basic pest awareness (organic IPM starts early):
- Observe for small hive beetles (region-dependent) and keep the hive strong and tidy.
- Begin Varroa thinking—not panic, just planning:
- Decide now how you’ll test mites (sugar roll or alcohol wash) and how often.
- You’re building the habit, not waiting for a crisis. ([extension.psu.edu][4])
Month 6 — First “real” management month: brood, space, heat, and swarm awareness
- Inspections stay 7–10 days.
- Swarm prevention basics (urban neighbor priority):
- Space first (add boxes before they’re packed)
- Watch for queen cells (especially along the bottom of frames)
Comparison of play cup vs charged swarm cell - If you see swarm cells developing, consider a split (the most “natural” swarm control tool).
- Roof/balcony heat management:
- Provide shade in extreme heat.
- Ensure ventilation and water.
- Mite testing (do it this month if you haven’t):
- Organic beekeeping still requires measuring mites.
- Use an IPM approach (monitor → threshold → act). ([extension.psu.edu][4])
Summer (Months 7–9): Inspections, Swarm Control, Mites, and Honey Decisions
Month 7 — Peak growth + “don’t lose the plot” month
- Expect a population boom.
- Continue swarm awareness:
- Heavy traffic at the entrance ≠ swarming.
- Swarming signs include multiple charged queen cells and a packed brood nest.
- Honey super (maybe):
- First-year colonies in cities sometimes make surplus, sometimes not.
- If they’re still building brood boxes and comb, prioritize colony growth over harvest.
- Varroa is the main event now:
- Test again.
- If levels are rising, organic-minded beekeepers often use “softer” treatments (e.g., organic acids/essential-oil-based tools) as part of IPM. ([extension.psu.edu][4])
Reality check: Many winter losses are “made” in late summer when mites and viruses climb. If you want to keep bees organically, your superpower is early measurement + timely intervention.
Month 8 — Late-summer dearth + robbing control + queen evaluation
- Watch for nectar dearth (depending on city/region):
- Bees can get crankier.
- Robbing pressure can rise.
- Robbing prevention checklist:
- Reduce entrance
- Feed internally (if needed) and avoid spills
- Don’t leave sticky equipment outside
- Queen health check:
- Solid brood pattern? Eggs present?
- If the queen is failing, fix it now (late summer is not the time to “wait and hope”).
- Mite testing again (yes, again):
- Late summer is often the highest-risk time. ([extension.psu.edu][4])
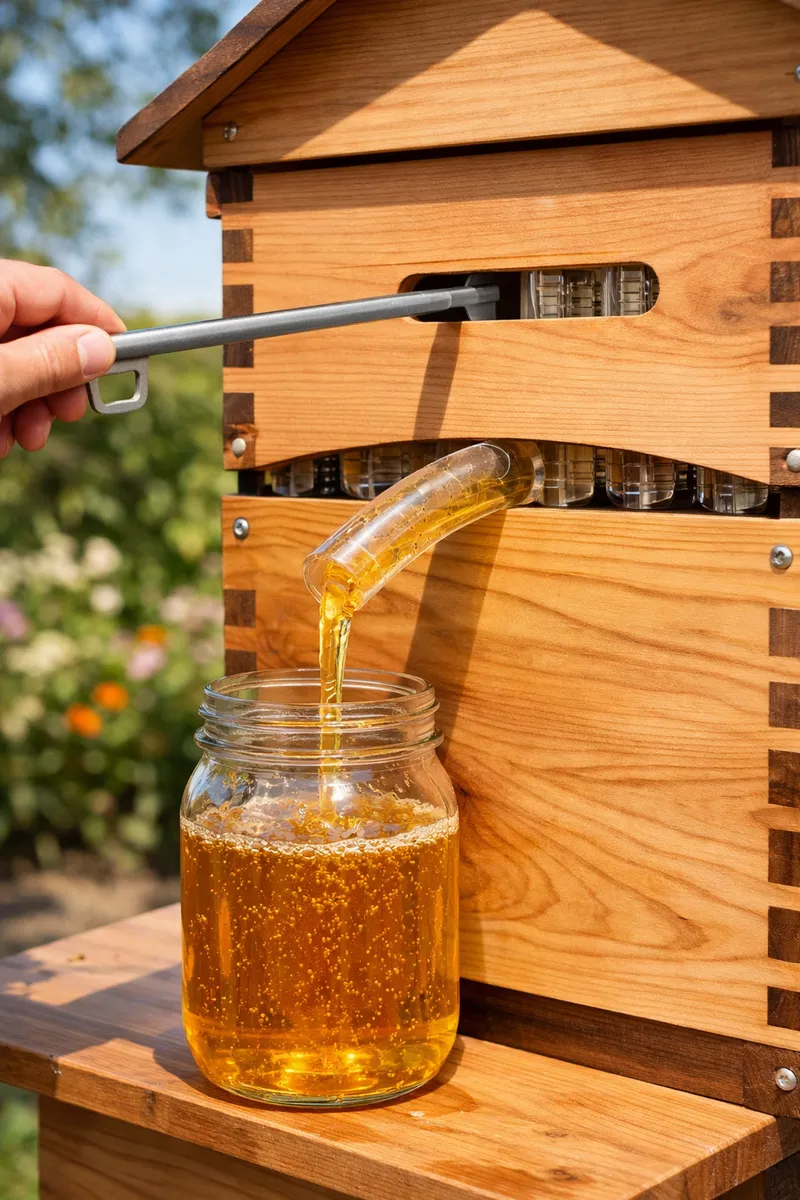
Month 9 — Early fall transition: stores, mite wrap-up, and harvest choices
- Decide your honey plan:
- In a first year, consider taking little or none and letting the bees keep their stores.
- If you harvest, harvest only fully capped honey and leave plenty.
- Start building winter stores:
- If the hive feels light, begin heavier feeding with 2:1 syrup.
- Install mouse protection planning:
- Get your mouse guard ready; install once nights are consistently cool.
- Wind plan for winter:
- Identify prevailing wind direction and plan a windbreak or wrap.
Fall (Months 10–12): Harvest (If Any), Winterizing, and “Hands-Off” Success
Month 10 — Winterizing starts: food, moisture, wind, rodents
- Food stores assessment:
- Lift (heft) the hive from the back—get a feel for weight.
- If light: feed 2:1 aggressively while days are still warm enough.
- Moisture management (organic winter survival secret):
- Cold usually doesn’t kill colonies—wet cold does.
- Ensure ventilation so condensation doesn’t drip onto the cluster.
- Mouse guard on:
- Install before cold really settles in.
- Wrap/insulate (region-dependent):
- In colder cities, wrapping can help reduce wind chill.
- Don’t seal the hive airtight—ventilation matters.
Month 11 — Final checks + emergency feed options
- Stop regular inspections.
- You’re no longer “managing frames”—you’re supporting survival.
- Entrance check after storms:
- Keep it clear enough for airflow.
- Emergency feed setup (optional insurance):
- Some beekeepers add dry sugar or fondant above the cluster for backup if stores run low.
- Quiet observation:
- On warmer days, bees may take cleansing flights. That’s normal.
Month 12 — Deep winter: protect, don’t poke
- Hands off is the best move.
- After major wind/rain events: confirm the lid is secure and the hive hasn’t shifted.
- Learn + plan next year:
- Review your notes.
- Identify what worked (placement, feeding timing, swarm control, mite strategy).
- Decide whether you’ll add a second hive next spring (two hives make comparisons and resource balancing easier).
Bonus: Organic “Urban Success” Rules (Print This)
- Gentle bees + good flight path = happy neighbors.
- Water source beats neighbor complaints. ([betterbee.com][2])
- Measure mites early and often. ([extension.psu.edu][4])
- Moisture control is winter survival.
- Don’t overharvest—especially year one. 227: 6. Short, consistent inspections beat long, chaotic ones.