How to Harvest Honey in a Small Apartment
Harvesting honey in a small apartment is entirely possible with the right approach. By using compact equipment and low-mess techniques, even urban beekeepers or community-garden hive sharers can extract honey at home. This step-by-step guide will walk you through a honey harvest with minimal space and minimal mess, focusing on keeping your kitchen (or balcony) clean and pest-free.
1. Equipment: Choosing Your Harvest Method and Tools
There are two main methods to extract honey: the Crush-and-Strain method and using a centrifugal Extractor. Each has advantages for small spaces:
-
Crush-and-Strain Method:
- Ideal for small batches and beginner-friendly.
- Minimal equipment needed: food-safe bucket, cheesecloth or mesh strainer, potato masher or spoon.
- Does destroy comb, so bees must rebuild it.
- Saves space and money.
-
Small Extractor Rental or Purchase:
- Preserves wax comb, which saves bees energy.
- Compact 2- to 4-frame extractors are available.
- Can be rented from local beekeeping clubs or suppliers to avoid long-term storage.
- Look for removable legs or vertical stacking designs for easier storage.
Additional Tools You’ll Need:
- Uncapping fork or serrated knife
- Large pan or tray for drips
- 5-gallon food-grade bucket with or without honey gate
- Fine mesh strainer or cheesecloth
- Jars or bottles with tight lids
Storage Tip: Store all your tools inside the honey bucket when not in use to keep them clean and organized.
2. The Process: Harvesting Honey in a Small Space
Step 1: Pulling Frames (Bee-Free)
- Shake or brush all bees off the frames outdoors.
- Place frames into a sealed box or plastic bin with lid to avoid bees following you indoors.
- Close windows and doors during indoor work to prevent attracting bees from outside.
Step 2: Set Up a Clean Workspace
- Lay plastic sheeting or newspapers on the floor and counters.
- Prepare a warm room (~80°F/27°C) for easy honey flow.
- Turn off fans to avoid blowing dust into honey.
Step 3: Uncapping the Comb
- Use an uncapping fork or hot knife to slice wax caps off cells.
Close up of uncapping fork peeling wax caps - Collect cappings in a bowl to drain later.
- If using crush-and-strain, cut the entire comb out of the frame directly into a bowl or bucket.
Step 4: Extracting the Honey
Option A: Using an Extractor
- Load uncapped frames evenly in extractor.
- Hand-crank and let honey spin out into the bucket.
- Use a mesh strainer or cheesecloth to filter directly as it flows.
Option B: Crush-and-Strain Method
- Mash the comb thoroughly with a potato masher or clean hands.
- Pour mash into a strainer setup over a clean container.

Kitchen setup for crush and strain honey harvest - Cover and let drain for several hours or overnight in a warm spot.
Mess-Minimizing Tips:
- Work over the sink or tub.
- Keep a bowl of warm water nearby to rinse hands/tools.
- Use drop cloths and immediately wipe up any drips.
- Only extract on balconies or porches if fully bee-proof and during low activity hours.
3. Bottling: Filtering, Settling, and Jarring
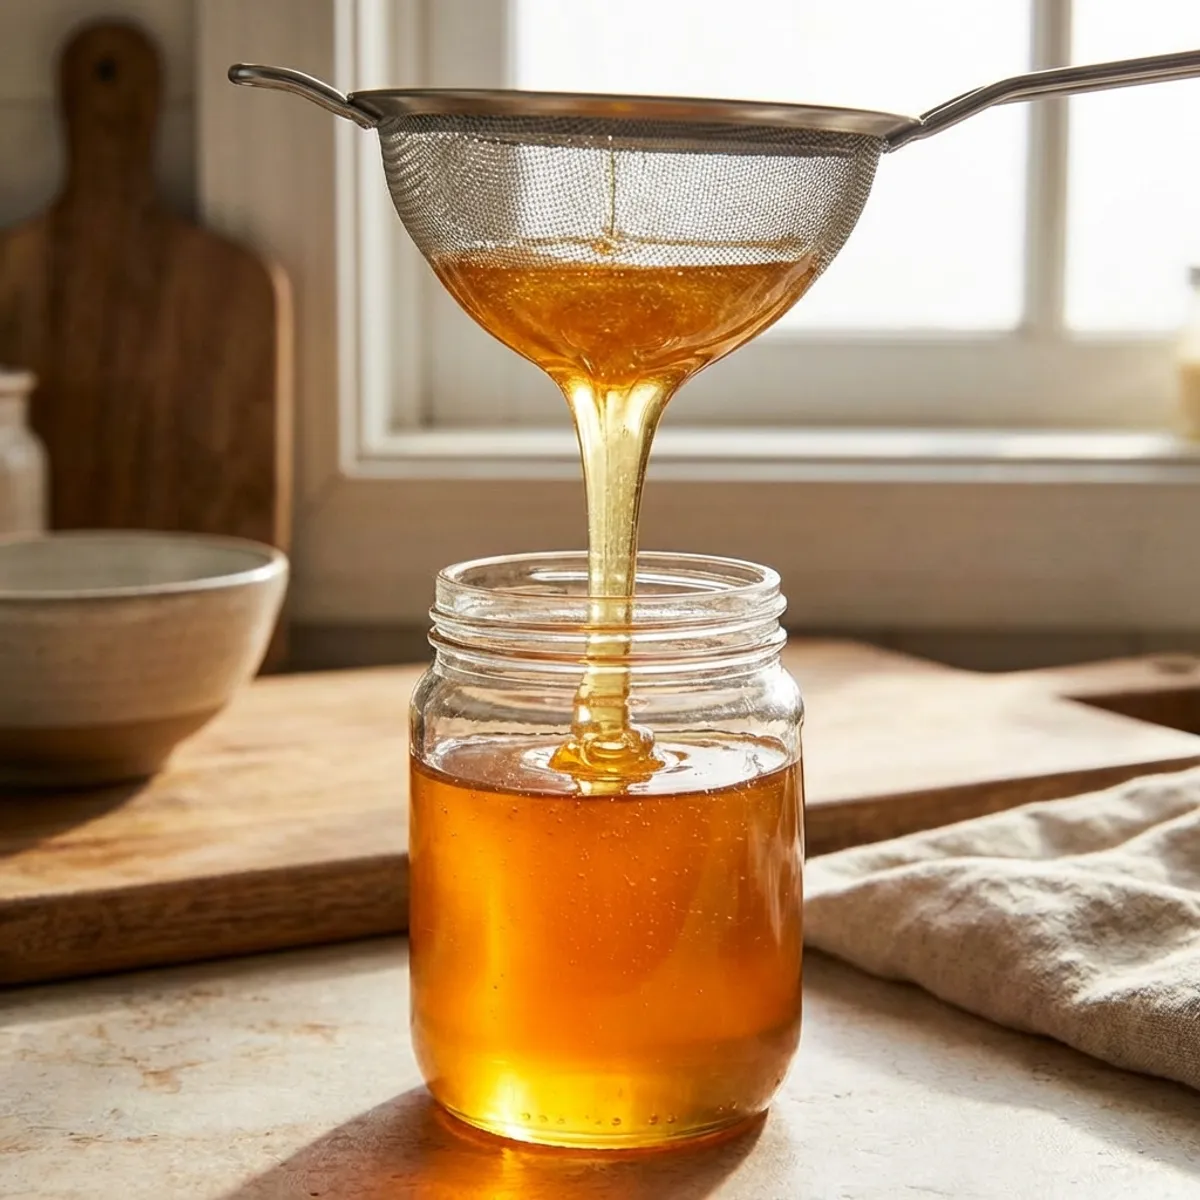
Step 1: Final Filtering
- Filter honey again using cheesecloth or a fine mesh sieve to remove any last bits of wax.
- Do not use heat – honey flows best naturally when warm.
Step 2: Settling (Optional)
- Let honey sit in a covered bucket for 2–6 hours so air bubbles rise to the top.
- Skim off any foam or scum from the top.
Step 3: Jarring
- Pour into clean, dry jars using a funnel or honey gate.
- Wipe threads before capping to avoid attracting pests.
- Store sealed jars in a cool, dark place.
Space-Saving Tip: Use one large container for bulk storage and keep only a small jar in regular use.
4. Cleanup: Managing Sticky Wax and Residue
Step 1: Remove and Store or Discard Wax
- Do not pour wax down the drain.
- Scrape wax into a sealed container or trash bag and remove it from the apartment.
Step 2: Washing Tools
- Soak sticky tools in very hot water with dish soap.
- Use a spatula to peel off hardened wax after cooling.
- Optional: Place waxy tools in the freezer to easily scrape off solidified wax.
Step 3: Deep Clean to Prevent Pests
- Wipe all surfaces with hot water and vinegar or baking soda.
- Mop the floor and clean under mats, appliances, and sink edges.
- Take trash out immediately.
Pest Prevention Tips:
- Place jars or buckets on a tray of water (moat method) to block ants.
- Wipe jars thoroughly after sealing.
- Don’t leave honey uncovered in open air, especially on balconies.
Optional Bee Cleanup Trick: Let bees clean equipment outdoors on a secure balcony or near your hive—but only when safe to do so, and never with deep pools of honey present.